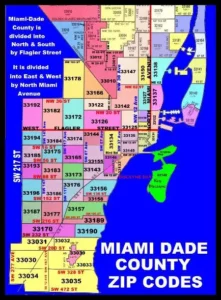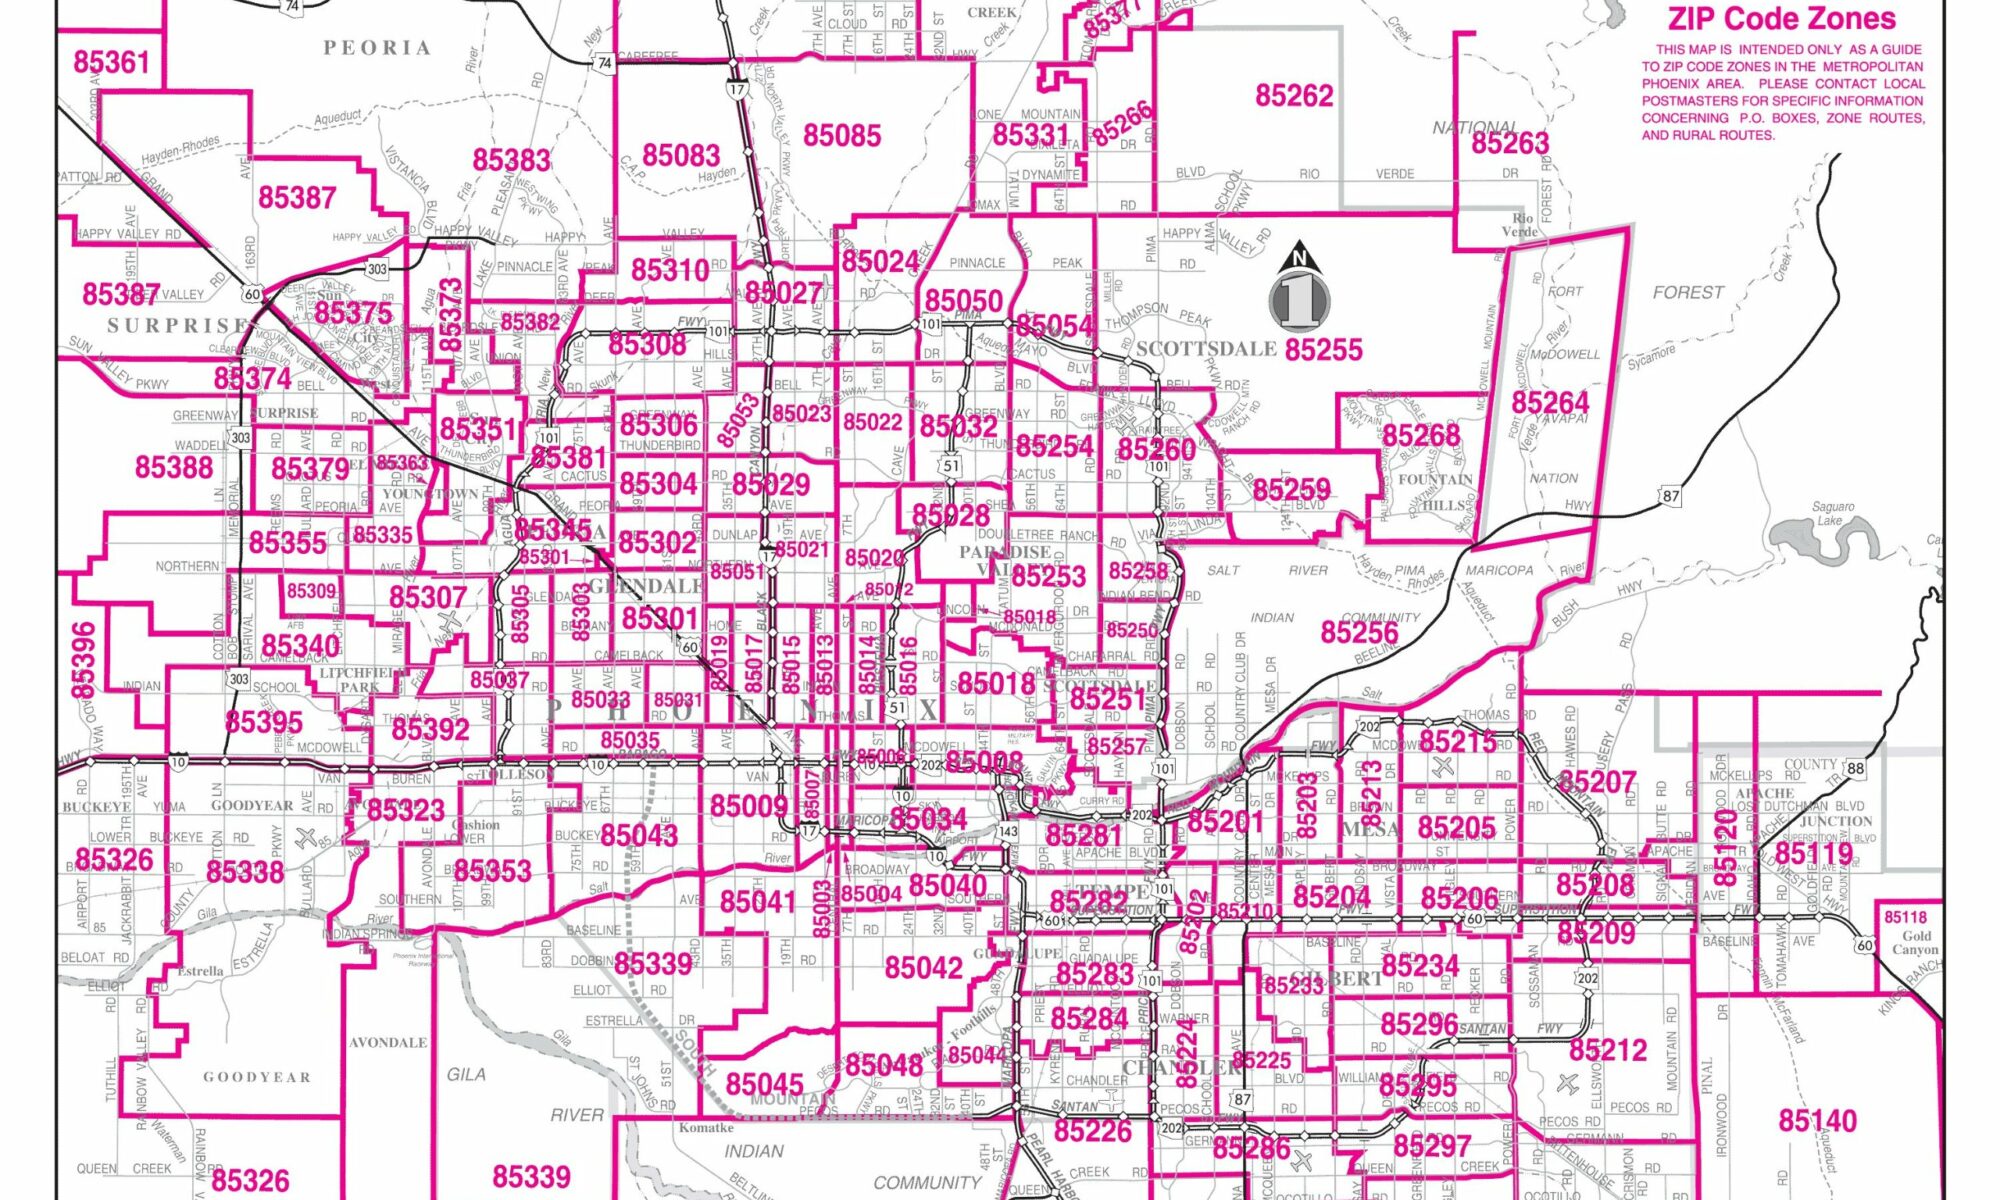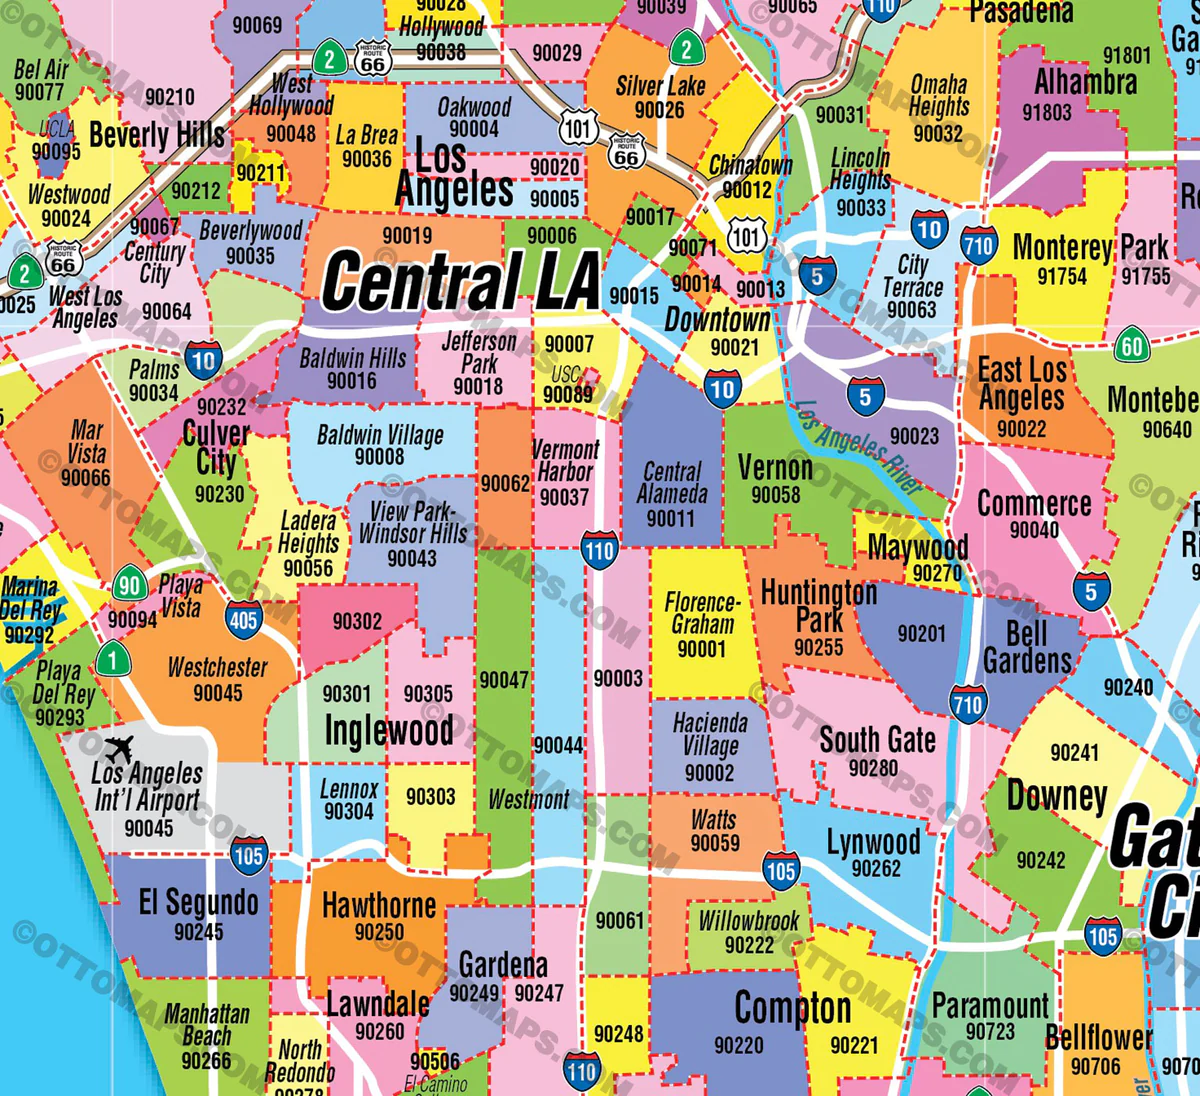
Labeling zip codes on a map can help visualize geographic data. Here’s a step-by-step guide on how to do it:
- Choose a Mapping Tool: There are several tools available for creating maps with labeled zip codes. Popular ones include Google Maps, ArcGIS, and QGIS. Let’s use QGIS, a free and open-source GIS software, for this guide.
- Download Zip Code Data: You’ll need a shapefile or GeoJSON file that contains the boundaries of the zip codes you want to display. You can often find these datasets on government or GIS data websites.
- Load the Data into QGIS:
- Open QGIS.
- Go to Layer > Add Layer > Add Vector Layer.
- Navigate to your zip code data file and open it.
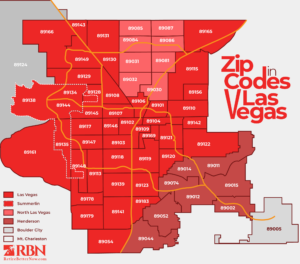
- Label the Zip Codes:
- Click on the zip code layer in the Layers panel.
- Go to the Layer menu at the top and choose Labeling.
- In the Label with dropdown, choose the attribute that contains the zip codes. Depending on the dataset, this might be called “ZIP,” or “PostalCode,” or something similar.
- Adjust other settings as needed, like font size, label placement, and more.
- Style the Map:
- You might want to adjust the color, line width, and other styling options for the zip code boundaries to make the map easier to read.
- Go to Layer > Properties > Symbology to adjust these settings.
- Add Additional Layers: If you want to add other geographic data to the map, like city boundaries or points of interest, you can add these as additional layers.
- Export and Share: Once you’re satisfied with your map:
- Go to Project > Export to save your map as an image, PDF, or another format.
- Share the map on your website, in a presentation, or wherever you need it!
The exact steps may vary if you use a different tool or software, but the general approach will be similar.
